This is a tip for lining up your punches by using punch templates.
In my previously posted Masculine card I used an oval punch out in the bottom right corner. I punched through the brown layer and then attached a small piece with FORE stamped on it to the back.
But I found that it was kind of hard lining up my punch because I couldn't really see how much space I had on the right and the bottom.
So I used this trick/tip (whatever you want to call it) and it worked out perfectly.
First you start off with a piece of card stock that you want to punch through.
Then you take the punch you want to use and punch out the shape on a scrap piece of paper.
Now it would make sense to use post it notes - I think that's what was suggested to me in the first place - BUT they kind of gum up the punch. So I suggest using scrap and then using a bit of adhesive (like mono) to attach it to the card stock piece you want to punch.
Take care and attach it exactly where you want it on the card stock. Then holding your punch upside down (does anyone punch right side up anymore?) line it up with the scrap piece.
Voila! A perfectly placed punch!
Now this tip is especially handy when you want to punch out a series of shapes and you want them to line up.
In my next example I'll show you how to line up some squares on this piece of card stock.
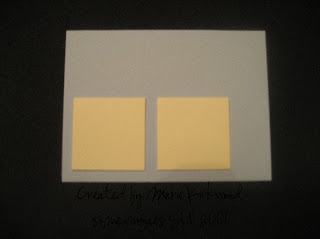
Using your punch - punch out some squares out of scrap paper.
Attach the squares to your card stock exactly where you want them.
Line up your punch (again holding it upside down!) and punch away!
What you end up with is perfectly placed punch outs!
I find this the easiest way to line up my punches and I hope you enjoyed this tip!


Oh my gosh...please tell me, why didn't I think of that? Thank you!!!!
ReplyDeleteThanks, Marie. That is a great time-saving tip that I will be using quite often. Have a really great day!
ReplyDeletePat
Great tip, Marie!
ReplyDeleteGreat tip! I had never seen this and appreciate you sharing it!! This will help a ton!!!
ReplyDeleteThank you so much for the tip/tutorial. This is one of those times when I ask my self, "Now why didn't I think of that?" :)
ReplyDeleteKaren