You see I am a Stampin' Up! Demonstrator but I'm more of a hobby demo now and don't really need to have current display boards for customers.
Initially I swapped to fill my display boards when I was first starting out with Stampin' Up
It was fast and easy and I had some awesome sample boards with current stamps for particular catalogue periods. Then I moved a bit away from sales and concentrated on classes and so my samples boards became "theme" and "technique" displays - I'd have a board for Christmas cards, another for Valentines and then another for Heat Embossing samples etc.. You get the idea. When I'd run a class I'd just pull out my sample board to inspire the customers.
Now I'm only teaching at Scrap Arts and I don't really need all the display samples but I do NEED constant IDEAS and INSPIRATION for classes.
For this current swap I'm hosting - Stampin' Up! New Spring/Summer Mountable Card Front Swap - I've only received 1/3 of the cards but the INSPIRATION and IDEAS are AMAZING!!
Some of the tips & techniques are new but some of them have been around for a long time and I'd just forgotten about them. You know how it is - you get caught up with the latest tools and supplies that you kind of forget about the "old school" stuff that you may have learned when you first started out.
For example here are some sneak peeks of what I'm talking about:
Faux Brads (just small punched holes that are glued on to look like brads)
 Adding brads to accent your stamped image
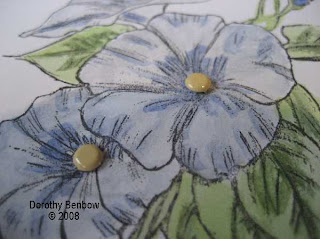 Outside of the Box (kind-of - this one using a cut out image)
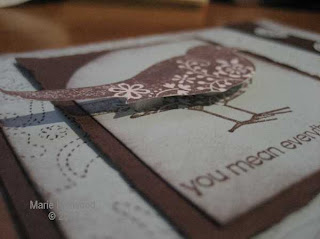 Using the coluzzle
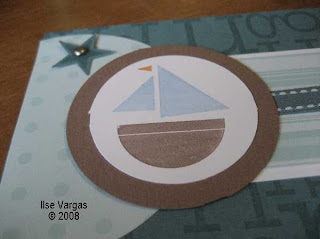 Making a film strip (this one also uses a cut out with crystal effect-ed palm trees!)
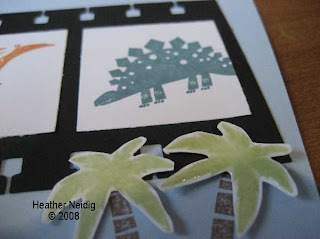
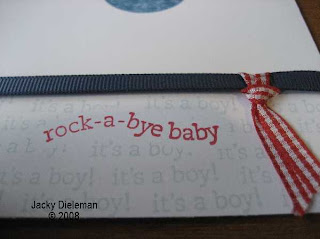
Tying a scrap of ribbon onto ribbon "instead of" a bow and also using masking to highlight the greeting (in a different colour from the background to stand out)
Using the Crop-a-Dile to emboss dots on an accent strip of cardstock

Using the crayon resist technique on glossy cardstock
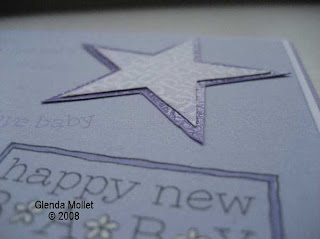
Heat Embossing with clear on a mat layer for the stamped star (also the little flowers in the greeting in this sample are accented with the White Gel pen)
 The "Levis Tag" style greeting (this is one of my favourite "fix" ideas especially when you forget to place your greeting in your card design!)
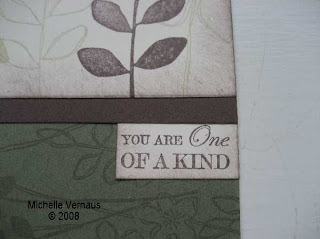 Stamping on Shimmery White paper (this one has added glitter too!)
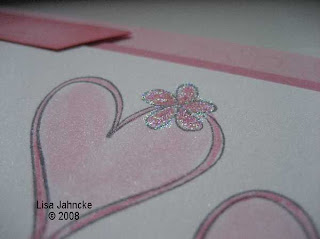 Corner pieces accented with brads
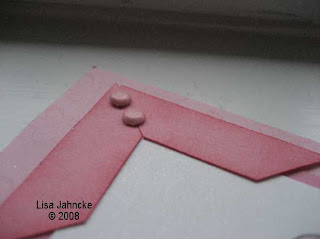 Paper Piercing
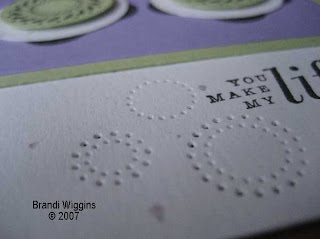 Accenting with Crystal Effects
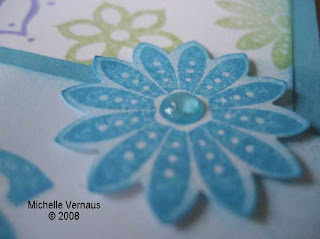 Adding a layer of patterned paper (if you're a paper hoarder like me than you can stretch out your patterned paper by using only bits and strips on cards)
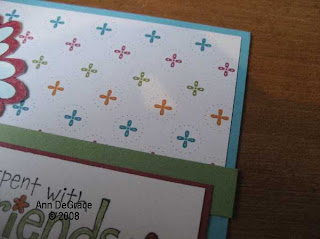 Corner punching & accenting (on this card the two opposite corners are notched on both layers on the other side the two opposite corners are notched only on one layer and then a brad is added)
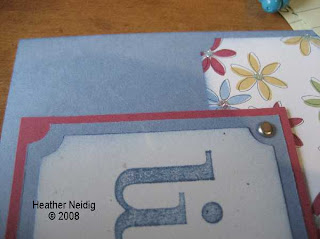 Not using the entire stamped image and using a scalloped punch as a FRAME rather than a mat layer - this scalloped circle frame sits on TOP of the image!
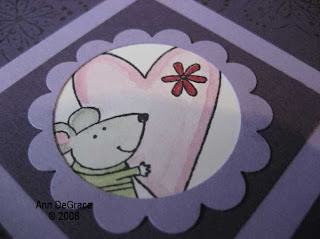 Hanging a tag embellishment on a card (this tag is actually loose)
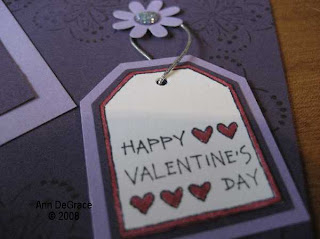 These next three are all on one card from my friend Ann Wood in NS. I used to swap with Ann before she became a Stampin' Up! Demo in general swaps (my 2 cousins and sister were also in on these swaps as well as another Ann).
Adding 1/2 circle layers for the greeting
 Using the white gel pen for free-hand stitching and accents
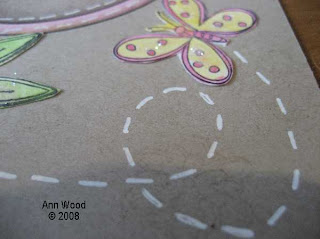
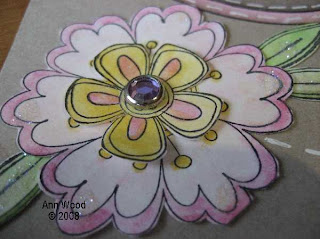
Multiple cut out layers with a brad accent and GLITTER!
 Layering your punches (the yellow circles in the background are actually circles punched out of the brown layer with the yellow card stock underneath and then another smaller brown circle set into the "hole")
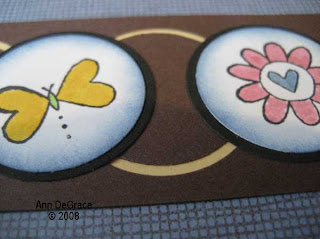 Roughing up your edges with a tool or your fingernail. I think this technique has been around for a LONG time. I remember seeing it on the Stampin' Up! Demo training video!!
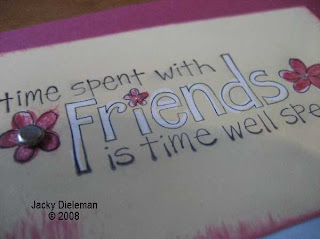
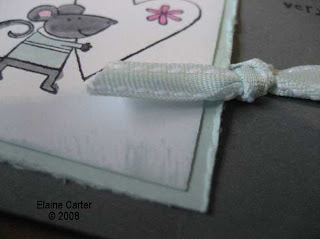 Layering diffent colours and shapes of cardstock (this looks like the flower is in a black "hole" cut out of the burgundy layer but it's actually multiple layers & pieces of the black cardstock).
 That's it for now. I've got more swaps coming in and if I find some different tips and techniques I'll post again on Tips, Techniques and Inspiration.
I hope you enjoyed seeing these as much as I did when I received these swaps!
Thanks Marie for sharing all
ReplyDeleteyour great ideas.
This has been very inspiring.
I love all your techniques.
Dee